Card SDK
The system allows embedding the widget in three different places within the cards: lead, contact,and company. This can be done in the following ways:
- Adding a new tab in the lead, contact, and company cards.
- The ability to add your handler for the Call action in the context menu of the contact’s phone number in the deal card. Ability to add the Write first item to the context menu of the contact’s phone number in the deal card.
- Adding a new source in the submission control at the bottom of the card feed.
- Displaying the widget template on the right-side panel.
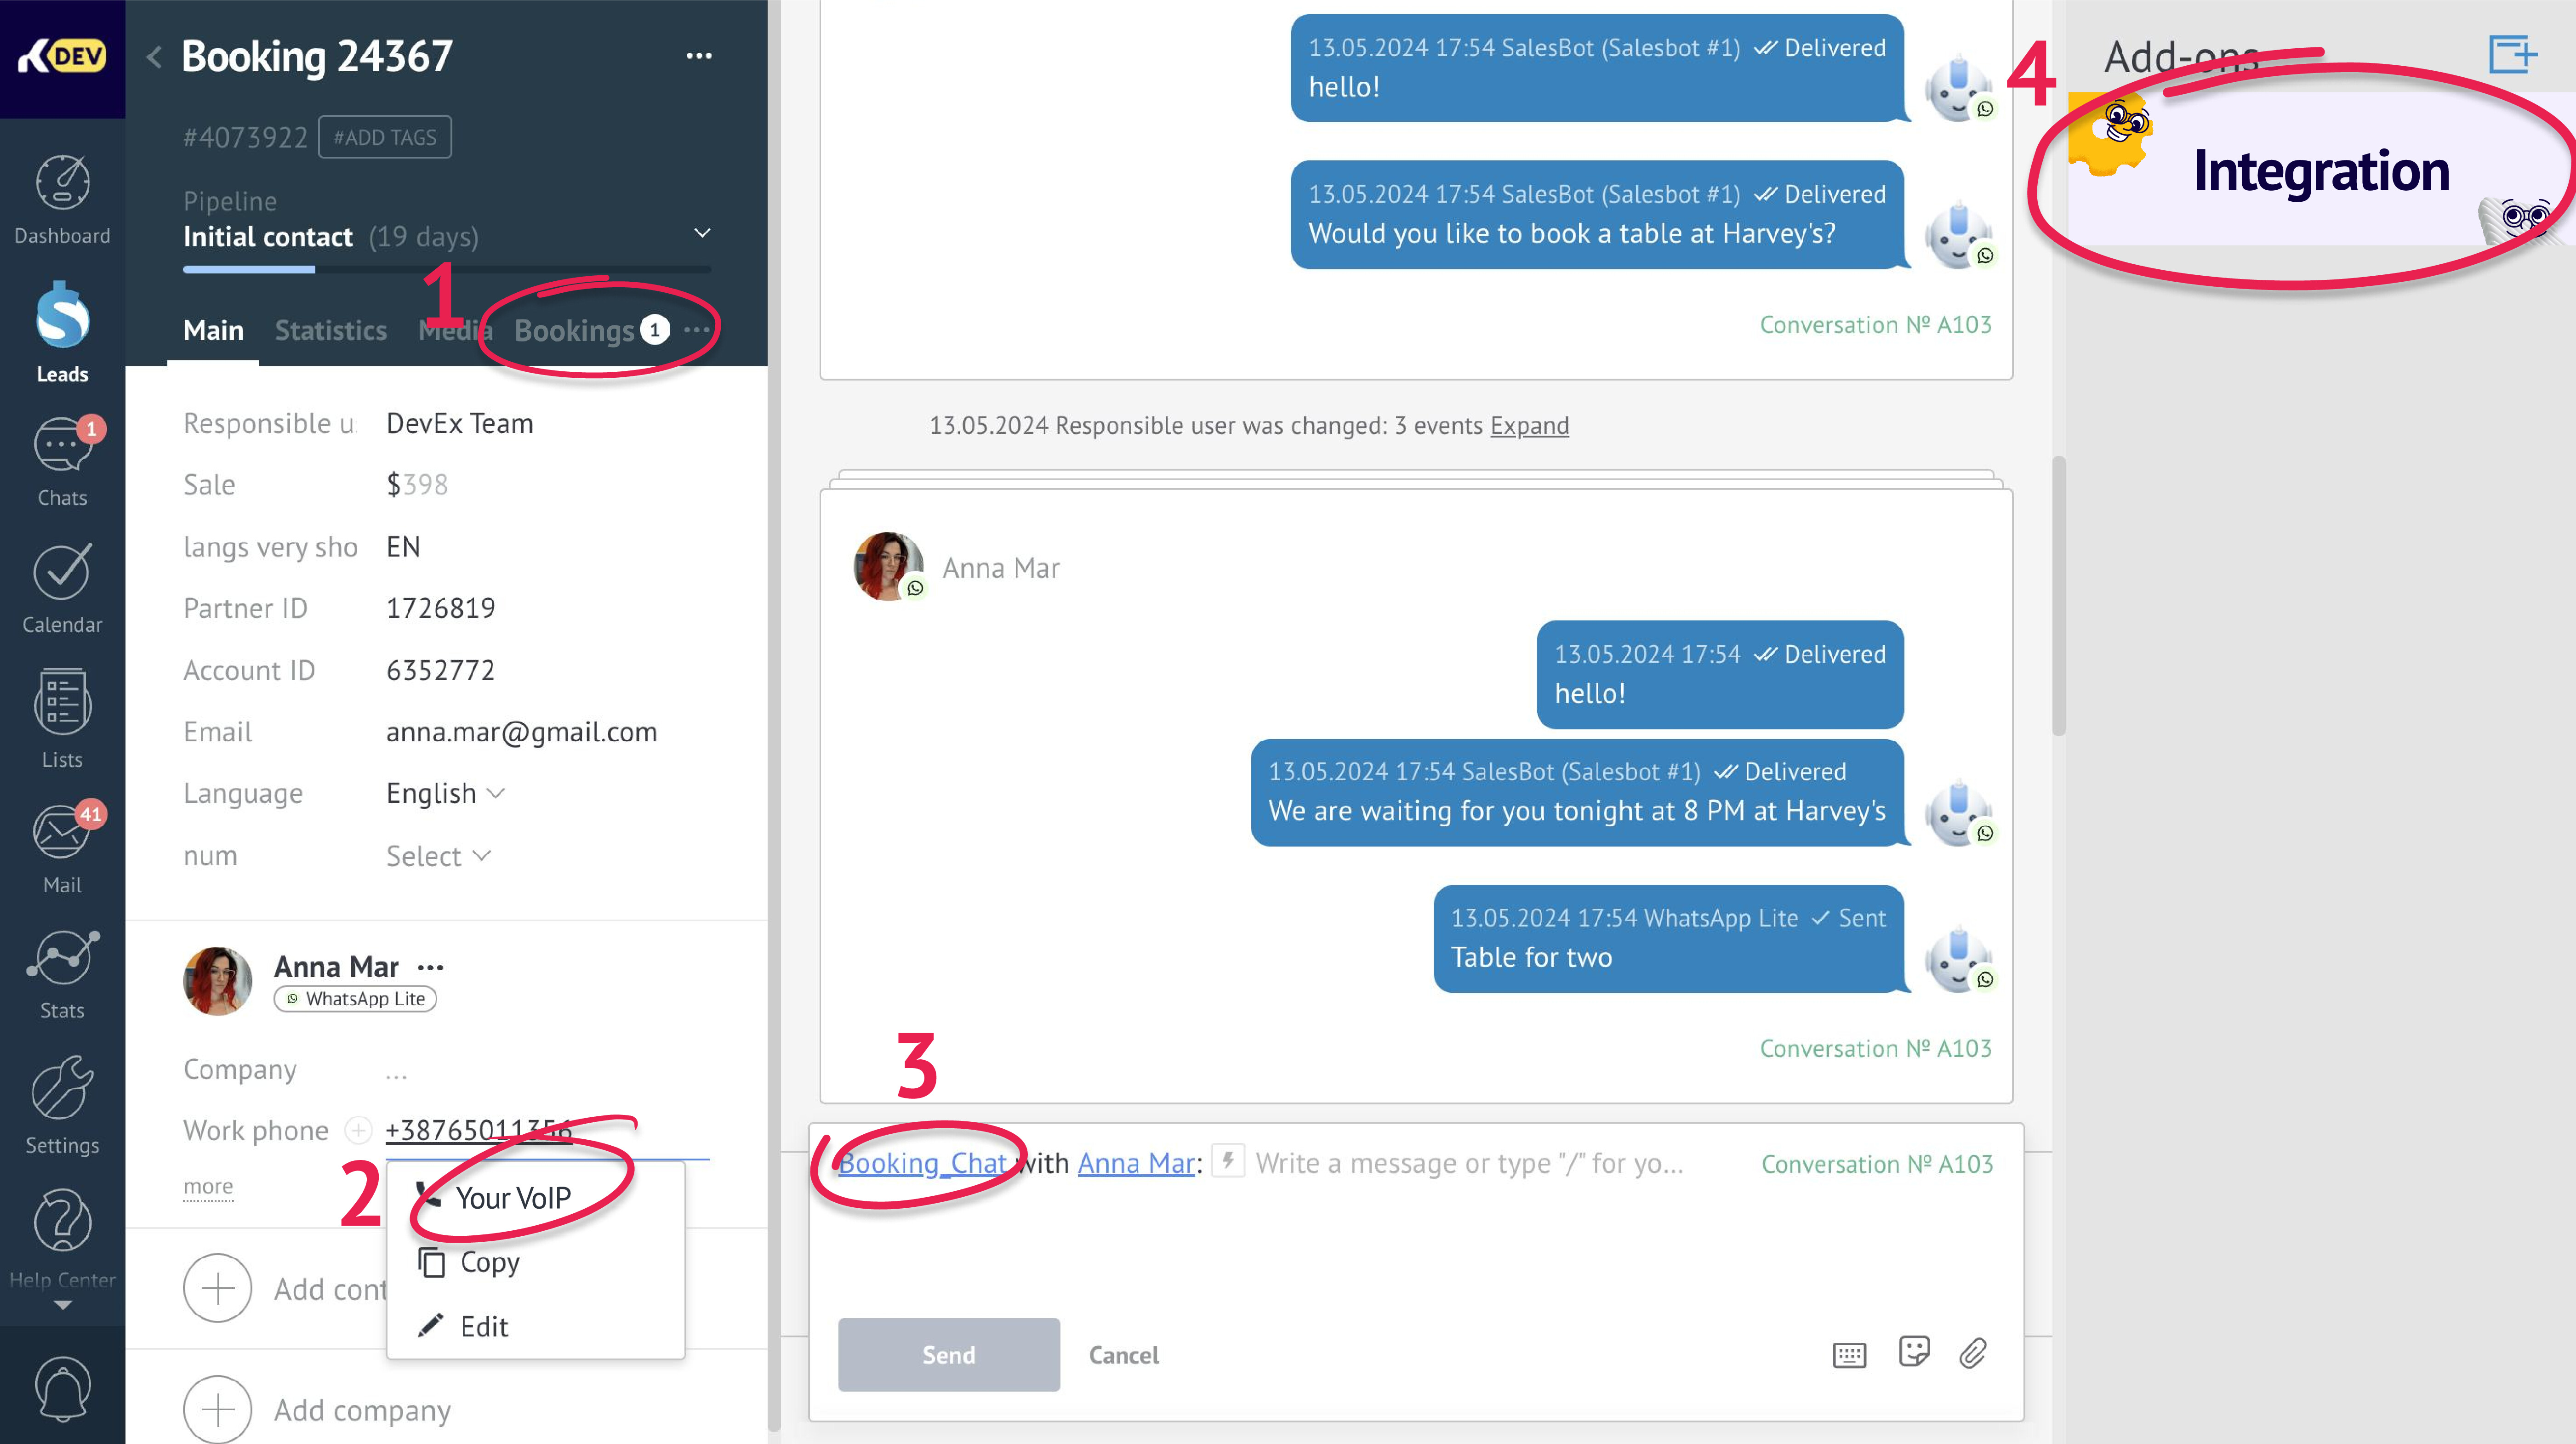
You need to specify all the card locations where the widget should work:
lcard(lead)ccard(contact)comcard(company)
1. Adding a new tab in cards
By using this method, the developer can add a new tab to the entity card. This added tab will display various products that can be linked and unlinked from the entity, search for them, and change their quantity.
If you do not use the standard mechanism for working with products, you can use callbacks in this section to display arbitrary data on a tab in a card.
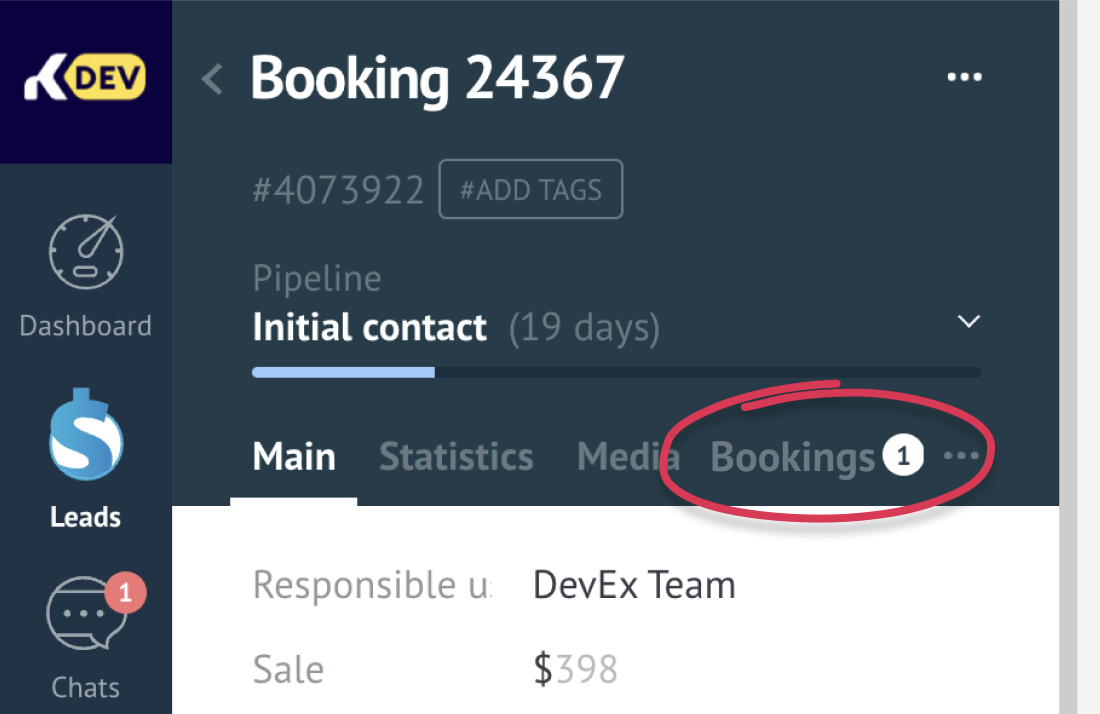
To add a new tab, follow these steps:
- In the manifest.json file, specify the necessary areas in the locations object (
lcard-0,ccard-0,comcard-0,settings,card_sdk). - Implement the callback object methods described below to render products in the entity card.
Methods to connect data sources
4 methods must be created in the callbacks object in the script.js file of the widget,
loadPreloadedDataloadElementslinkCardsearchDataInCard
loadPreloadedData() method
The loadPreloadedData() method is triggered when the widget's tab is initialized.
It is responsible for displaying data intended to be added to the card when the search field is opened.
The method returns a Promise object that, upon completion of the request, returns an array of objects.
An example of an object in the array:
{
  "id": 934244, // ID
  "sku": "SNI/01/136/0500", // Stock Keeping Unit code
  "name": "Name", // Item title
  "price": "999" // Item price
}
An example :
loadPreloadedData: function () {
  return new Promise(_.bind(function (resolve, reject) {
    self.crm_post(
      'http://my.sdk.api.com/sdk_back/',
      {},
      function (msg) {
        resolve(msg);
      },
      'json'
    );
  }), this);
}
If your widget doesn't work with products, but you need to render some data into the tab, you can use this method with the following content:
loadPreloadedData: function () {
  var $widget_tab = $('#' + self.get_settings().widget_code);

  $widget_code.html('widget body here');

  return Promise.resolve({});
}
loadElements(type, id) method
This method is called during the initialization of the tab associated with the widget.
It is responsible for displaying elements linked to the card.
The method returns a Promise object that, upon completion of the request, returns an array of objects.
An example of an object in the array:
{
  "id": 934244, // ID
  "sku": "SNI/01/136/0500", // Stock Keeping Unit code
  "name": "Name", // Item title
  "price": "999", // Item price
  "quantity": 2 // Items quantity
}
An example :
loadElements: function (type, id) {
  return new Promise(_.bind(function (resolve, reject) {
    self.crm_post(
      'http://my.sdk.api.com/sdk_back/?products=true&type='+type.type+'&entity_id='+id,
      {},
      function (msg) {
        resolve(msg);
      },
      'json'
    );
  }), this);
}
Parameters
Parameter | Data type | Description |
|---|---|---|
| obj | Information about entity the request is made from |
| int | Type of entity: 1 - contact 2 - lead 3 - company |
| string | Text ID of entity |
| int | The ID of the element the request is made from |
linkCard(links) method
The method is invoked when saving linked items to cards, modifying the quantity, and unlinking them.
It is responsible for linking and unlinking items to a card.
What should be passed to the method:
| Parameter | Data type | Description |
|---|---|---|
links | array | An array of objects |
links[link] | array | An array of link objects |
links[link][0] | obj | An object to be linked |
links[link][0][from] | string | An entity you are linking the card to |
links[link][0][from_id] | int | An entity ID you are linking the card to |
links[link][0][quantity] | int | Items quantity |
links[link][0][to_id] | int | An item ID |
links[link][0][to_widget_id] | string | Widget code |
links[unlink] | array | An array of objects to be unlinked |
links[unlink][0] | object | An object to be unlinked |
links[unlink][0][from] | string | An entity you are unlinking the card from |
links[unlink][0][from_id] | int | An entity ID you are unlinking the card from |
links[unlink][0][quantity] | int | Items quantity |
links[unlink][0][to_id] | int | An item ID |
links[unlink][0][to_widget_id] | string | Widget code |
An example of method usage:
linkCard: function (links) {
  return new Promise(_.bind(function (resolve, reject) {
    self.crm_post(
      'http://my.sdk.api.com/sdk_back/link.php',
      links,
      function () {},
      'json'
    );

    resolve();
  }), this);
}
searchDataInCard(query, type, id)
The method is called when searching for items.
It is responsible for displaying found items.
The method returns a Promise object that, upon completion of the request, returns an array of objects.
An example of an object in the array:
{
  "id": 934244, // ID
  "sku": "SNI/01/136/0500", // Stock Keeping Unit code
  "name": "Name", // Item title
  "price": "999" // Item price
}
An example of method usage:
searchDataInCard: function (query, type, id) {
  return new Promise(_.bind(function (resolve, reject) {
    self.crm_post(
      'http://my.sdk.api.com/sdk_back/search.php',
      {
        query: query,
        type: type,
        id: id
      },
      function (msg) {
        resolve(msg);
      },
      'json'
   );
  }), this);
}
Method parameters:
Parameter | Data type | Description |
|---|---|---|
| string | A query string of the search |
| int | Type of entity: 1 - contact 2 - lead 3 - company |
| int | ID of the entity |
2. Click to call
Kommo allows managers to make calls from any contact, company, or lead card by simply clicking on the phone number in the card.
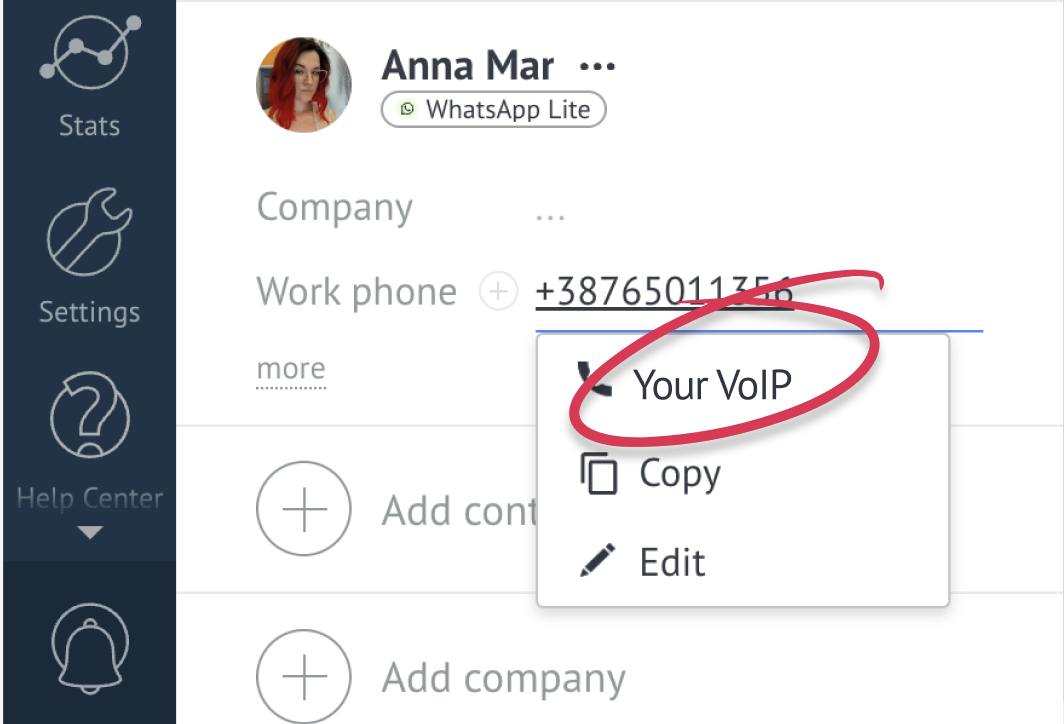
This functionality is implemented using the add_action(type, action) function:
| Parameter | Data type | Description |
|---|---|---|
type | string | The type of the passed parameter (email or phone) |
action | function | The function that will be called when clicking on a phone number or email address |
For example, you can use the add_action(type, action) function by placing it in the init callback function, which is a part of the script.js structure.
init: function(self){
 /*
 * add call_to action
 * type: phone
 * Value of field phone
 */
 self.add_action('phone', function(data){
  self.crm_post (
   /* Send the request to your voip service
   * to perform dialing the number
   * The method crm_post (url, data, callback, type, error)
   */
   'http://yourservice.com/dealmethod.php',
  {
   call_to: data.value
  },
  function(msg){
   alert('Call is performed');
  },
  'text',
  function(){
    alert ('Error');
  }
  );
 });
}You need to declare the widget locations in the manifest.json in order to execute the
add_action(type, action)function. You must set those locations where phone numbers are displayed.
The following example specifies all the widget locations where phone numbers can be found.
{
  ...
  "locations": [
    "ccard-1",
    "clist-1",
    "lcard-1",
    "llist-1",
    "comcard-1"
  ],
  ...
}
If you want to change the label on the button that appears when you click on a phone number or email address, you will need to make the necessary changes in the .json localization file located in the i18n directory of your widget structure.
en.json
{
	"widget": {
		"call_action": "Call"
	}
}
es.json
{
	"widget": {
		"call_action": "Llamar"
	}
}
If the call_action parameter is not specified, the button label will default to the name of your widget, which is a required parameter in manifest.json. The value of call_action" will be automatically inserted into the button when the widget is initialized.
3. Adding a new source in the submission control
It allows you to specify a new source that will be displayed at the bottom of the lead, contact, or company card feed.
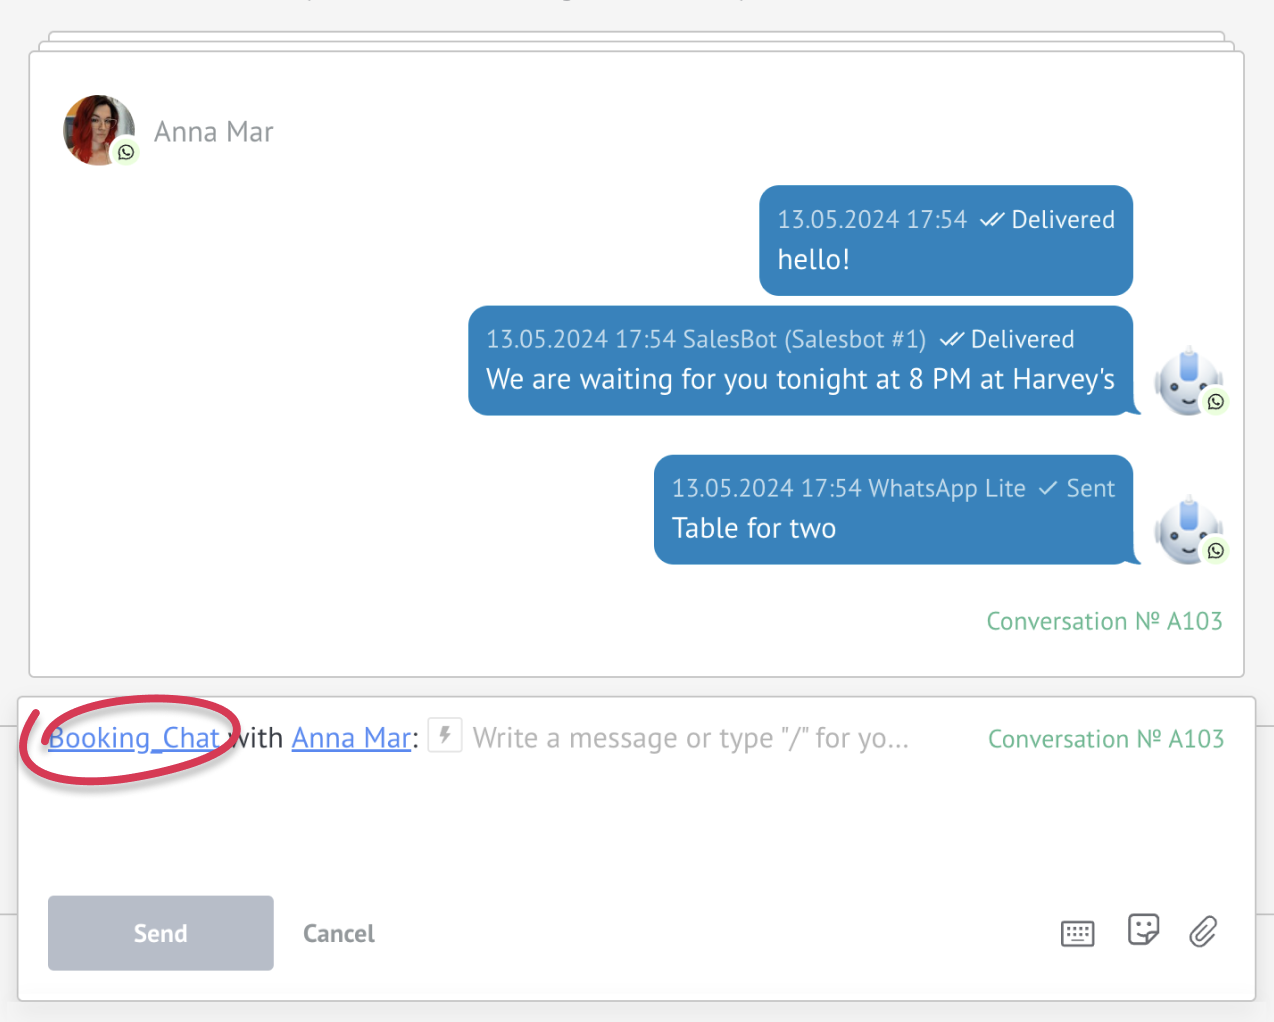
To do so you should call the method this.add_source(source_type, callback [,source_text]) of Widget object.
| Parameter | Data type | Description |
|---|---|---|
source_type | string | Source type can be "sms," "chat," "email," or "custom." Depending on the type, the widget will be automatically selected when loading the card if the last event in the feed is a chat message, SMS, or email. |
callback | function | Source handler function.You can find examples of implementation below. |
source_text | string | The name of the source that the user will see. This parameter is required for all types of source except "sms". If the widget is multilingual, then it should be substituted for language messages. |
It's generally best to select a specific source_type and only use custom if none of the other options are suitable. In this scenario, external sources will function the same way as system sources.
If the source_type is sms, then the system control is utilized, and the callback is a function that is triggered by clicking on the Send button.
In this situation, the callback must always return a Promise object.
source_type is sms
source_type is smsAn example:
self.add_source('sms', function (params) {
  /*
    params - an object with the necessary parameters for sending SMS, passed to the callback
    {
      'phone': 75555555555, // Recipient's phone number
      'message': 'sms text', // Message to be sent
      'contact_id': 12345 // ID of a contact the phone number is associated with
    }
  */
  return new Promise(function (resolve, reject) {
    // The place for sending SMS logic

    $.ajax({
      url: '/widgets/' + self.system().subdomain + '/loader/' + self.get_settings().widget_code + '/send_sms',
      method: 'POST',
      data: params,
      success: function () {
        // If successful an 'sms' type note will be created automatically
        resolve();
      },
      error: function () {
        reject();
      }
    });
  });
});
source_type is other than sms
source_type is other than smsIf the source type is different, a JQuery control element is passed to the callback for creating any logic.
self.add_source('email', function ($el) {
  console.log($el);
}, 'Gmail');
4. Displaying the widget template on the right-side panel
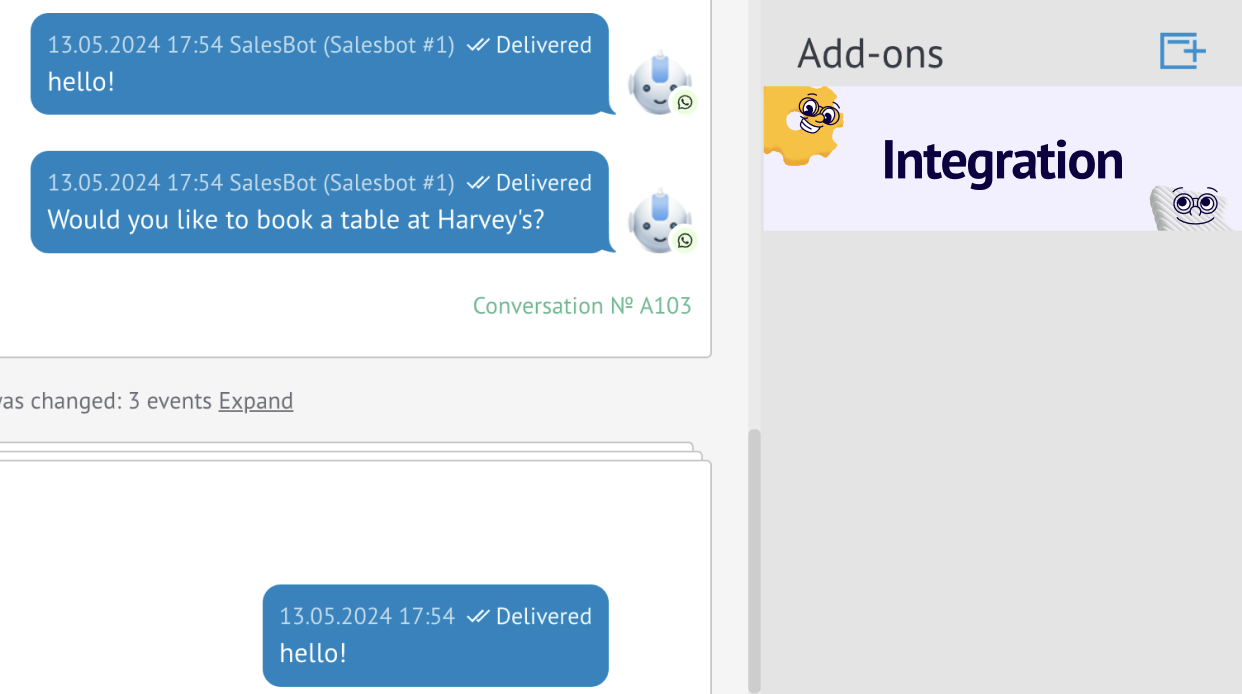
If your widget is located on the right-side panel, in order for the system to accurately count the number of widgets on the right-side panel before displaying the card, you should specify the postfix 1 in the location. For instance, if the widget is used in the lead card and appears on the right-side panel, the manifest.json locations should be defined as follows:
{
  ...,
  "locations": [
    "lcard-1"
  ],
  ...
}
To ensure that your block is displayed correctly on the right-side panel, use the render_template() method in the widget's render callback. Here's an example of how to call it with the necessary parameters:
self.render_template({
  body: '',
  caption: {
    class_name: 'widget-caption-unique-class-name'
  },
  render: '<div class="widget-body-unique-class-name">' +
    ‘Number of leads: {{count}}’ +
  '</div>'
}, { count: 10 });
The system will automatically create the header with the logo. You can provide your caption and adjust the styles using the images located in the widget's images folder.
Updated about 2 months ago